Step 1: Set up your clinic in Ruana (Account Settings)
In this guide, you’ll set your clinic’s core identity, addresses, contact info, and system behavior so that scheduling, billing, documentation, and reports work correctly from day one.
▶️ Watch first: Step 1 clinic setup walkthrough
(2 minute overview: where to find Account Settings + how to complete each section)
On this page
Where to find Account Settings
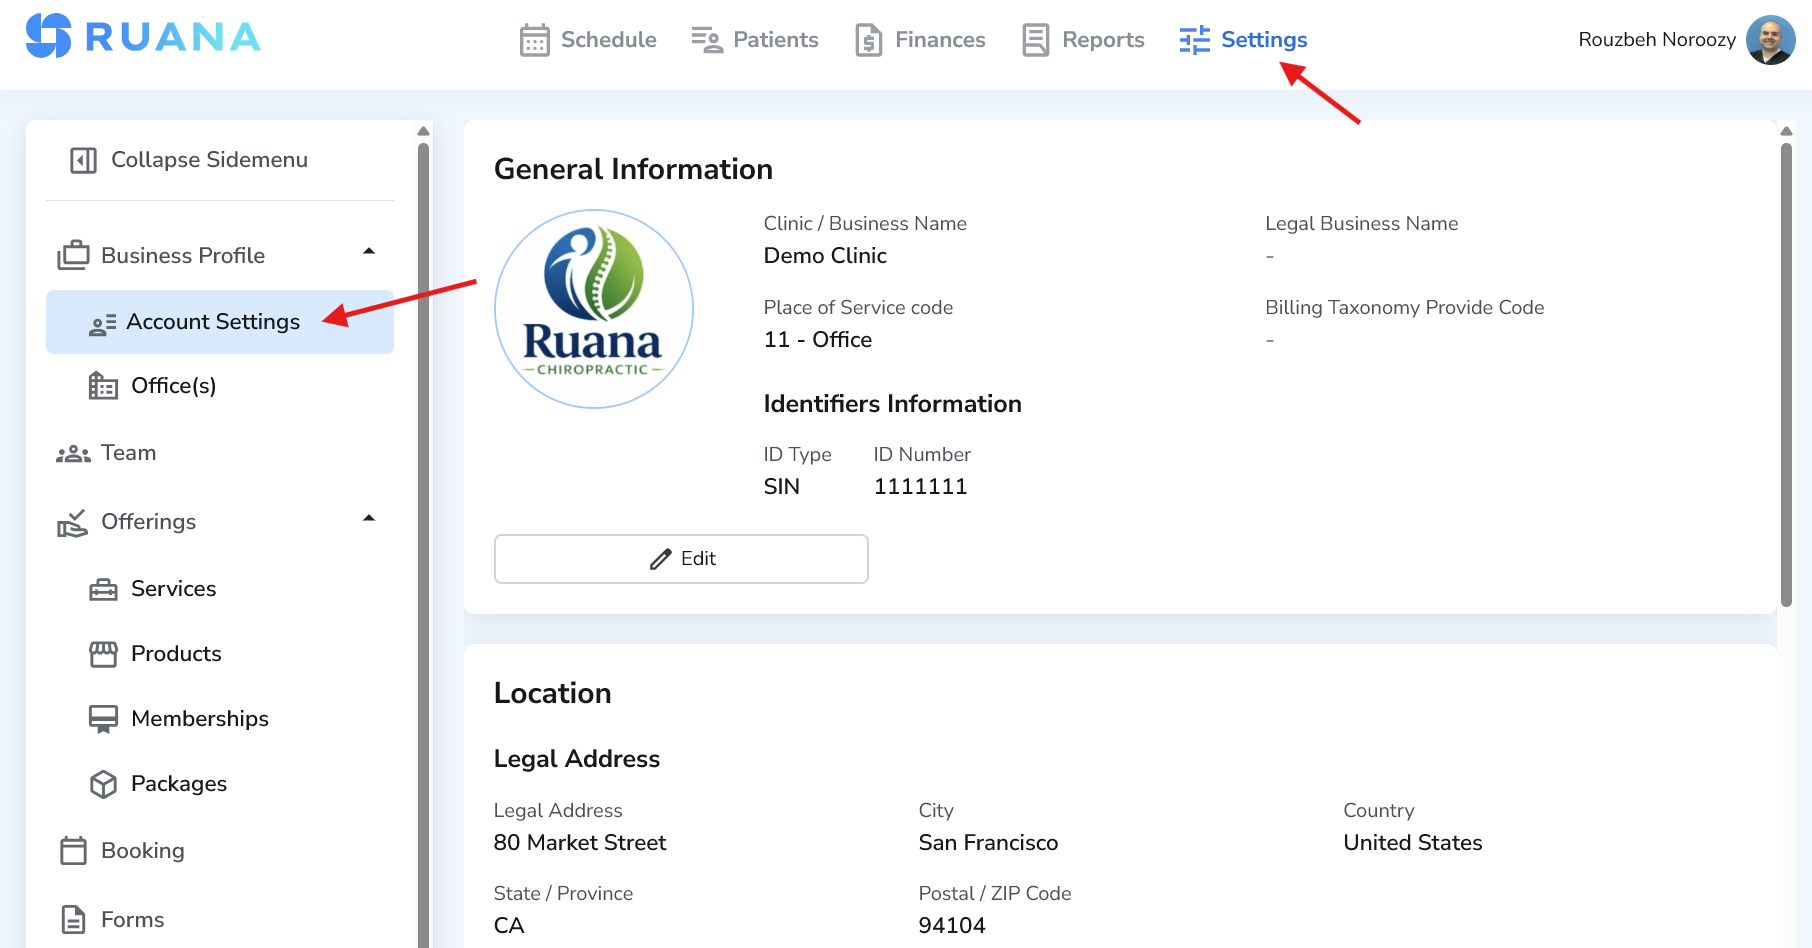
You can access Account Settings from the main navigation:
- Click Settings in the top navigation
- Open Business Profile
- Select Account Settings
Tip: Complete Step 1 before adding offices, team members, services, or online booking. It prevents scheduling and billing issues later.
General Information
General Information controls how your clinic appears across Ruana and on official documents such as invoices, superbills, and reports. If your clinic uses identifiers for billing (USA/Canada), this is where you add them.

How to edit General Information
- In the General Information section, click Edit
- Update the fields you want
- Click Save
Fields explained
- Clinic / Business Name (Required) – The name shown throughout Ruana and on most documents. Use a patient-friendly name.
- Legal Business Name (Optional) – Your official registered business name. Use this if it must appear on billing or legal documents.
- Place of Service Code (Optional) – Used mainly for insurance/superbill workflows. Cash-based clinics can usually leave this empty.
- Billing Taxonomy Provider Code (Optional) – Identifies provider type for billing. Typically needed only for insurance workflows.
- Business Identifiers – Add IDs (for example NPI or Tax ID) that may appear on superbills/invoices depending on your workflow.
How to add a business identifier
- Select an ID Type (example: NPI, TID)
- Enter the ID Number
- Click Add Identifier
- Click Save
Note: Only add identifiers you are legally allowed to display on patient documents.
How to remove an identifier
Click the trash icon next to the identifier. Then click Save.
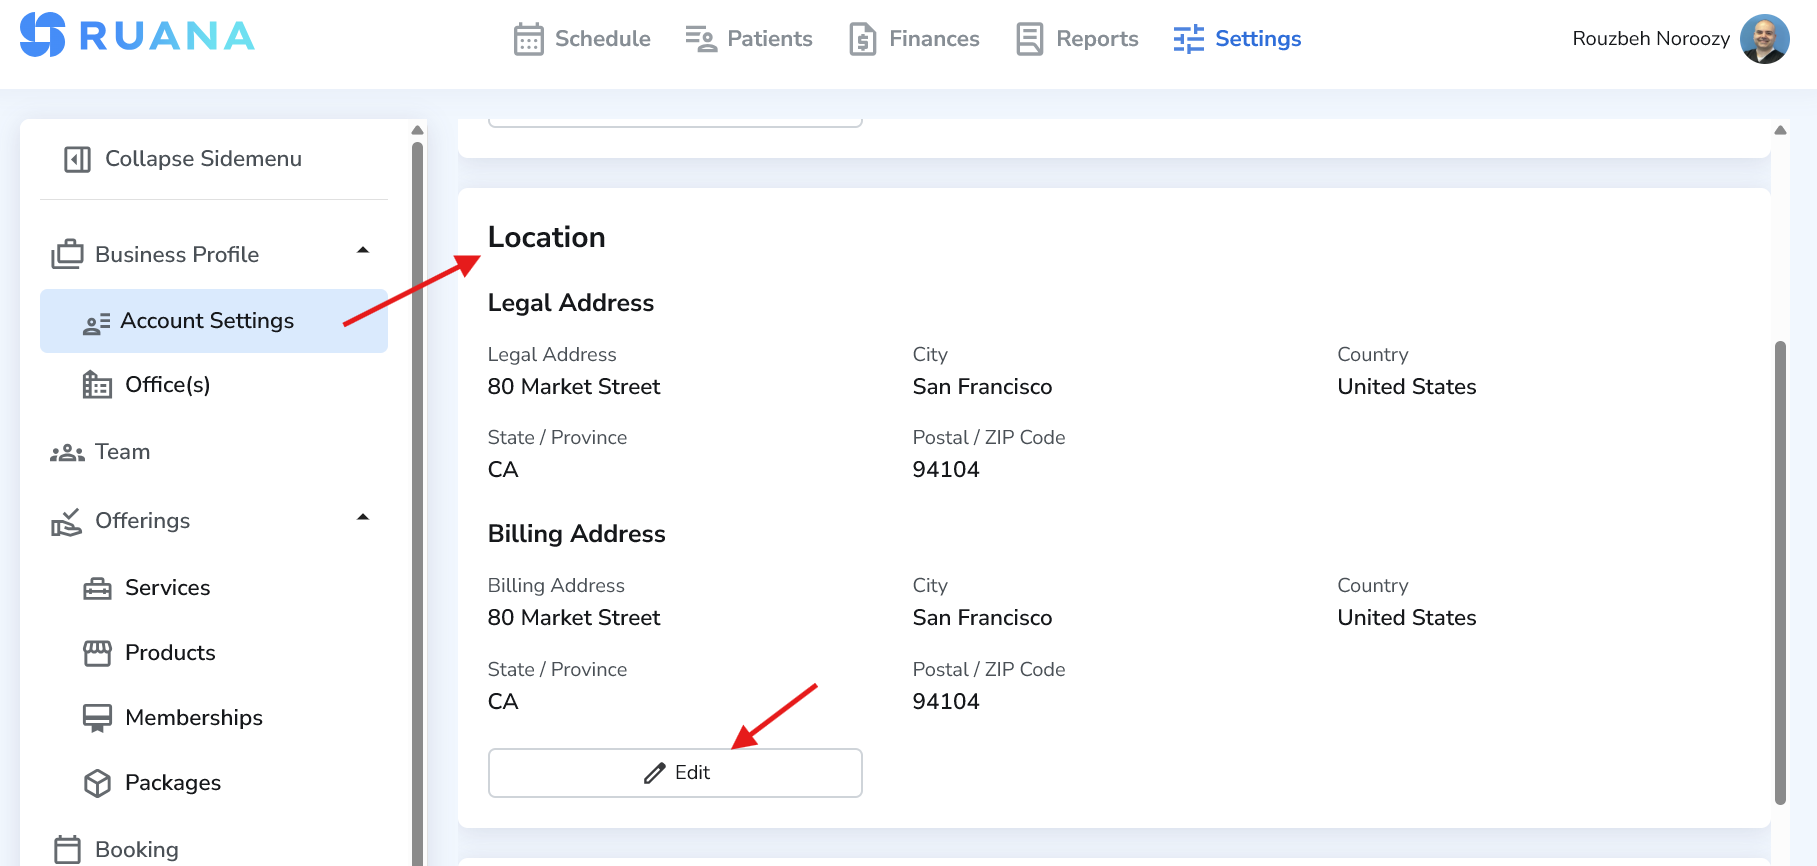
Location Information
Location Information defines your clinic’s legal address and billing address. This matters for invoices, statements, and any documents that require accurate clinic address details.
How to edit Location Information
- In the Location Information section, click Edit
- Update legal and billing address fields
- Click Save
Fields explained
- Legal Address – Your official business address used for legal documentation.
- Additional Legal Address (Optional) – Use if you have a secondary legal/business address.
- Billing Address – The address that appears on invoices and billing documents.
- Same as Legal Address – If enabled, billing address will match the legal address automatically.
Tip: If invoices must show a specific billing address, confirm this section before sending your first invoice.